


Mini Gingerbread Houses
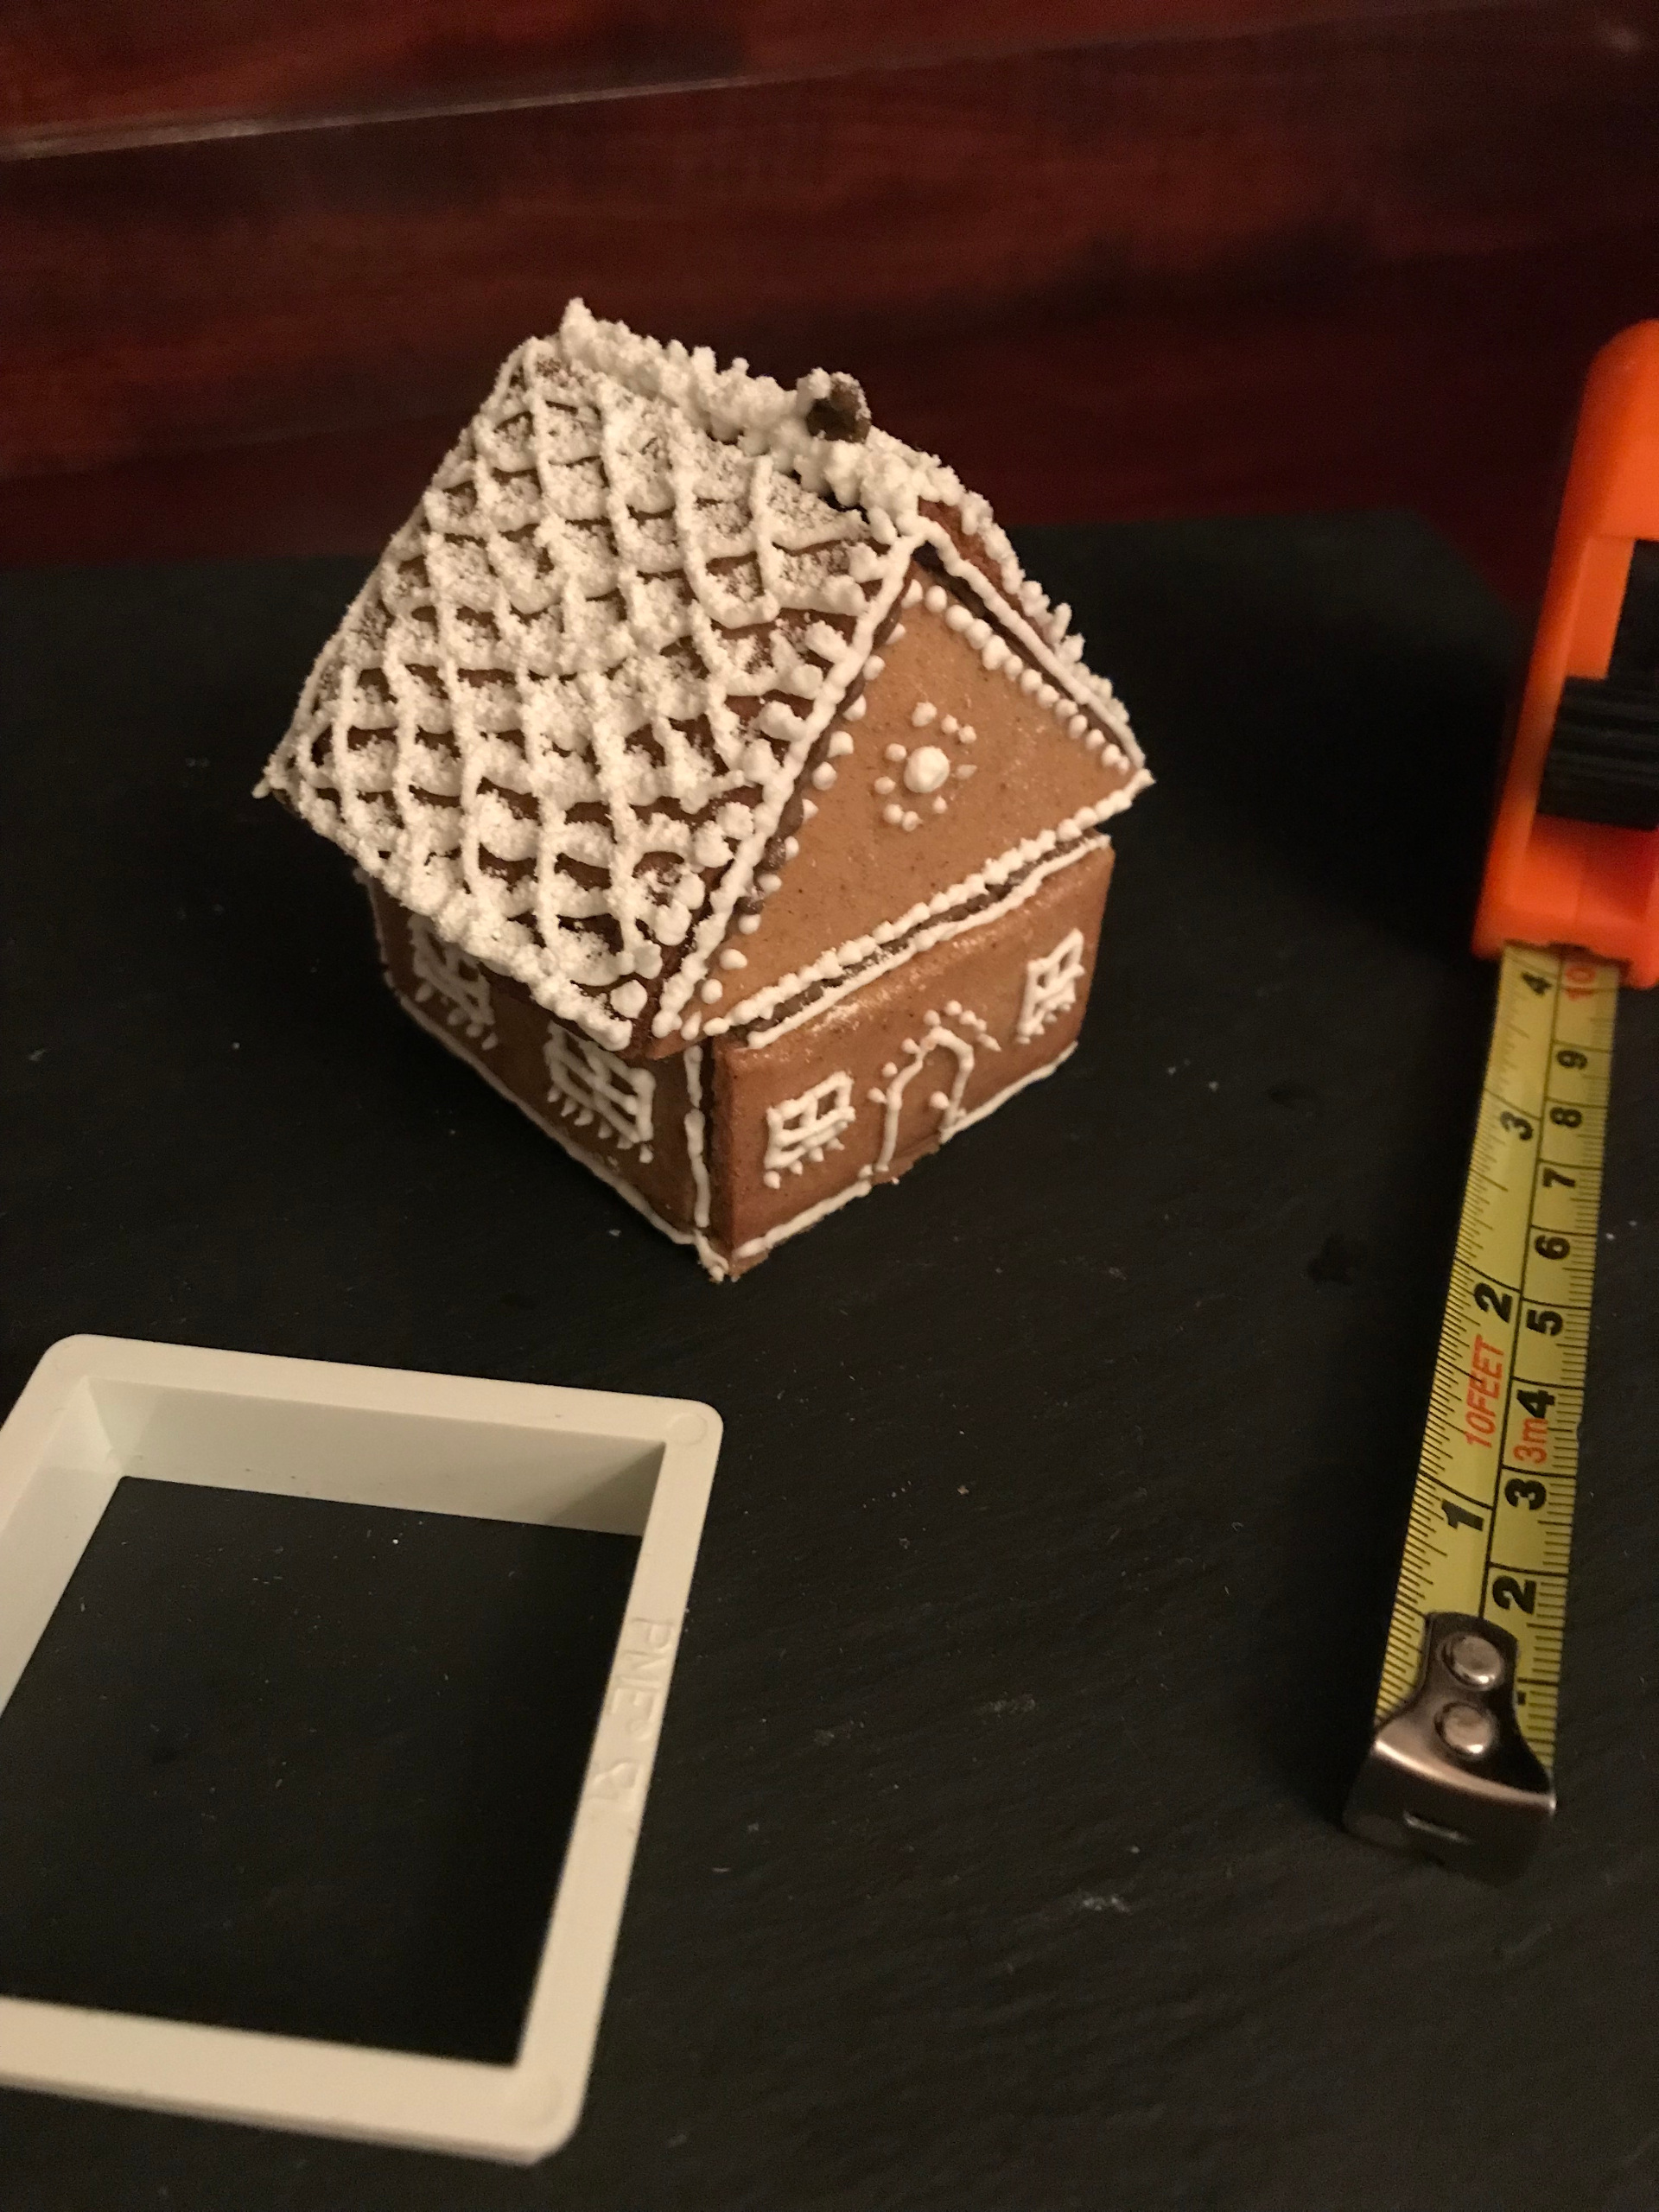
These little houses are just beautiful. Use to decorate your Christmas cake, give as gifts or use as table place settings. I just love them. No fancy cutters, templates or kits all you need is a square cutter. I used a 2 inch cutter (5 cm) but the size is up to you.
Makes 4-5 using a 5cm square cutter
Ingredients
For the gingerbread
75g Dark soft brown sugar
1 tbsp golden syrup
90g butter
225g plain flour
¼ tsp salt
½ tsp bicarbonate of soda
1 tsp ground ginger
1 tsp ground cinnamon
½ tsp ground cardamom (optional)
Finely grated zest of 1 orange
1-2 tbsp milk
For decoration
Mini sweets for filling
Royal Icing – 1 egg white and 275g Icing sugar (10 oz)
Share


Preparation
In a roomy saucepan place the sugar, syrup and butter and melt over a low heat, stirring regularly. Don’t allow the mixture to bubble and boil. In a mixing bowl sift together the flour, salt, soda and spices then stir in the orange zest. Make a well in the centre and when the butter has melted and the sugar dissolved pour the hot liquid into the bowl of dry ingredients.
Using a wooden spoon or spatula stir well and when cool enough to handle knead the dough into a ball.
The dough is very dry and may seem crumbly but this is important because you don’t want the gingerbread to spread during baking. If you find it impossible to form into a ball add the milk one tablespoon at a time until the dough comes together.
Take two large pieces of plastic (the plastic liner from a cereal packet is perfect for this) and roll the dough between. This ensures no extra flour is used and the dough doesn’t stick to the worktop. Roll as thinly as you can – you want delicate little houses !
Slide the dough still with the plastic onto a baking sheet and pop into the fridge to firm up for ten minutes. Once chilled, remove one sheet of the plastic and cut out as many squares as you can. Remove the squares to a baking sheet lined with reusable baking parchment. You will need 6 squares for each house – pop into the fridge until the oven comes to temperature.
Gather up the trimmings and re-roll.
Preheat the oven to 200 degrees c (190 fan)
For each house.
No 1 square – roll lightly to make it slightly bigger than the rest (this will be the base).
No 2 square – cut from corner to corner (these will be the gable ends of the house).
No 3 and 4 squares – cut in half horizontally (these will be the walls).
No 5 and 6 squares – leave as they are – they will form the roof.
Bake for 5 minutes then remove from the oven and allow to cool on the baking sheet as the shapes are very fragile when soft.
To make the royal icing – whisk the egg white until frothy then add the icing sugar little by little until you have a smooth, shiny, thick icing. Lemon juice or water can be added if the icing it too thick.
Use the smallest nozzle (a hole about the size of a pin head) and enjoy decorating your house sections before attempting to assemble.
Take the base piece and fix first one end piece then the two walls then the fourth end piece. Allow to set before then mounting the gable ends. Fill with sweets if desired then finish off with the roof pieces. Decorate the roof then dust with an icing sugar snow storm !
< Back to Recipes
Share